Showing posts with label American Gothic. Show all posts

Sunday, April 16, 2023

#165 Let's celebrate it!

Welcome back to Lost Coast Portal to Creativity where Lost Coast Designs and Carmen's Veranda collide to bring you twice the inspiration and double the fun!

 Hi there, Riet here.
 There is a new challenge  at Lost Coast Designs. 
Its all about festivities.
This is my take on the theme.

For the background I used a stamp of the Brush strokes sheet.

 I stamped it all around  the card and colored the cirkels in with posca markers.

Stamped the American Gothic Party with versafine and colored it with Posca markers.

I used some words of the "Party words" sheet.
And with the posca markets I made little dots.
Mat everything on a black cardstock.

I hope you like this card.
Come and join the challenge, you can be the winner of new stamps.


Tuesday, April 26, 2022

American Gothic

Welcome back to Lost Coast Portal to Creativity where Lost Coast Designs and Carmen's Veranda collide to bring you twice the inspiration and double the fun!


Hello dear stampers, Riet here.
Another fun challenge at Lost coast designs.


Here is the explanation how I made this card, it is a card, 
but you could also make an art journal page.

What have I used.
Lost Coast Designs stamps,
Die of a clock.
Stencils of a watch and numbers.
Versamark black.
Distressink,
Forest moss,
Rusty hindge,
Crushed olive,
Scattered straw.
Modeling paste.
Green and orange marker.
Colorcore cardstock black/orange.
Viva decor pearl pen.
Orange embossing power
Little chipboard star.

I started by smearing the distress ink colors on my glass mat,
 and sprayed a little water on it.
Dab the paper in to get nice spots of ink on the paper.
With a stencil and some water I took off some color again.


Then I applied the numbers with a stencil and modeling paste.
After drying I colored the numbers with a marker.
To let the modeling paste dry even better, I now continued with the American Gothic stamp.
I stamped this stamp on plain smooth paper.
I cut the frame off the stamped image, and sponged the image with Distress ink Anitque linen.
When the ink is dry you can color it further.
I did that with the distress ink.

Now let's move on to the background.
With stamps of pieces of calligraphy and pieces of architecture, 
I made prints here and there in different colors of the distress ink.

And with a stencil and versafine black I sponged a few clocks here and there.

I sponged the edges of the card
with forest moss.

I had a little chipboard star.
I panted it with Americana paint in a rusty orange color.
Then I applied orange embossing powder.


Remember when we had Colorcore cardstock years ago?
Of course I also bought a block, but never did anything with it.
I got a sheet that is black with a orange inside.
With the die of a clock I ran the two clocks through the Big shot.
With a fine sandpaper I run over it to show the orange.
But wasn't quite happy with that.
So just touched the clock here and there with a green marker.
Glued the star on the little clock.
And glued the rest to the card as well.
I added some accents with the pearl pen.
The lady's necklace and the bells on his hat.

Well, that was the tutorial for this time.
The team would love to see what you make with the "Hat" theme.
Join the challenge and have a chance to win new stamps.


Saturday, November 6, 2021

#132 Challenge Art dolls and diva's. I made a Prima ballerina

Welcome back to Lost Coast Portal to Creativity where Lost Coast Designs and Carmen's Veranda collide to bring you twice the inspiration and double the fun!

Hi everyone, have you recovered from Halloween yet?
Gail, our team leader has come up with a lovely challenge for you.
Art dolls or Divas.
Super fun, let your braincells work hard for this challenge.


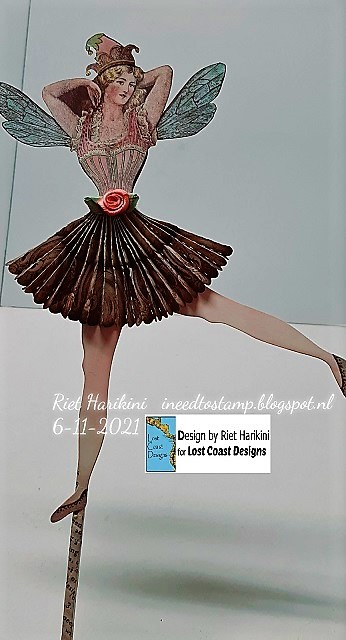
I made a vintage Prima Ballerina.
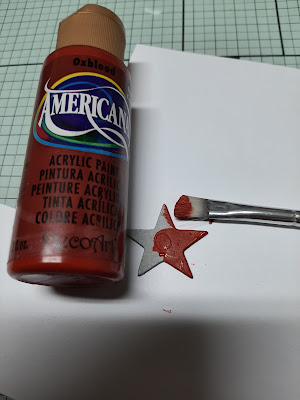
And this is what I used for it:

For the wings, LCD More bugs the bee.


1st layer of the skirt, LCD pieces of calligraphy.

2nd layer of the skirt, LCD pieces of architecture.

I used the Spellbinders art doll die for the legs.
And for the skirt the sizzix rosettes.

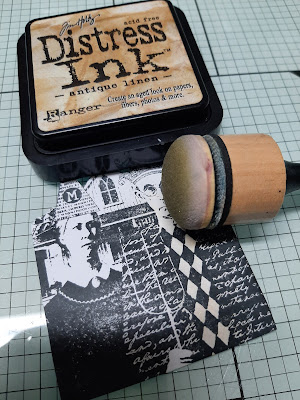
I stamped the stamps with Stazon Timber brown.
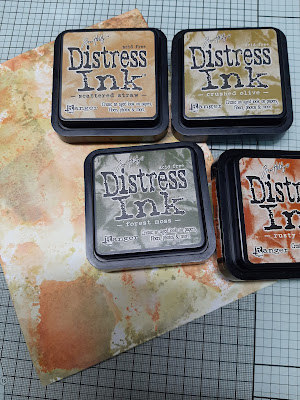
For the coloring, distress ink.
bundled sage,
victorian velvet,
tattered rose,
antique linen,
speckled egg,
scatter straw,
old paper,
walnut stain.
Water resistant fineliner, preferably in dark brown.
Nuvo aqua shimmer.
A small flower to glue on the waist

And this is how I made the prima ballerina.
First I stamped all the parts on white paper.
Started with a thin layer of Antique linen.
Then colored her with the pinks and speckled egg.
I colored her hair with Scattered straw.
I sponged the legs first with Antique linen and then with Tattered rose.
Then I drew shoes on the feet with the fineliner.
I colored the wings with Spackled egg and bundledd sage.
When that's dry, go over it lightly with Nuvo aqua shimmer.
With bundled sage the tip of the hat and details on the bodice.
I did the bodice twice and glued them with 3d tape on.
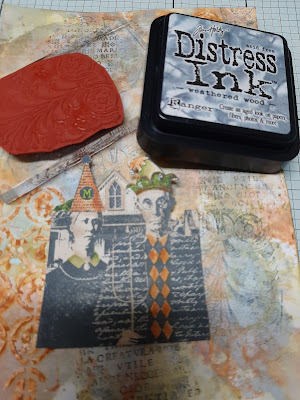
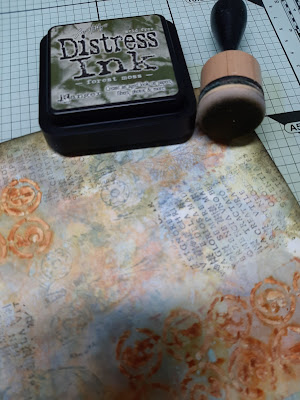
Now for the skirt that is completely stamped with Stazon timber brown.
Stamp the first layer with LCD pieces or calligraphy.
And the second layer with LCD pieces of architecture.
Sponge the edges with Walnut stain.


Now cut everything out and glue her together.
I wrapped a stick with washi tape and glued it to her back.
That way I can put her in something nice, maybe a nice plant.
Or put it in a nice bottle.

I hope I was able to inspire you and that you participate in the challenge.
If enough people participate, the prize is free rubber stamps.
Isn't that fun?
So click on the link and join the fun.