Showing posts with label Rose Boy. Show all posts

Sunday, May 18, 2025

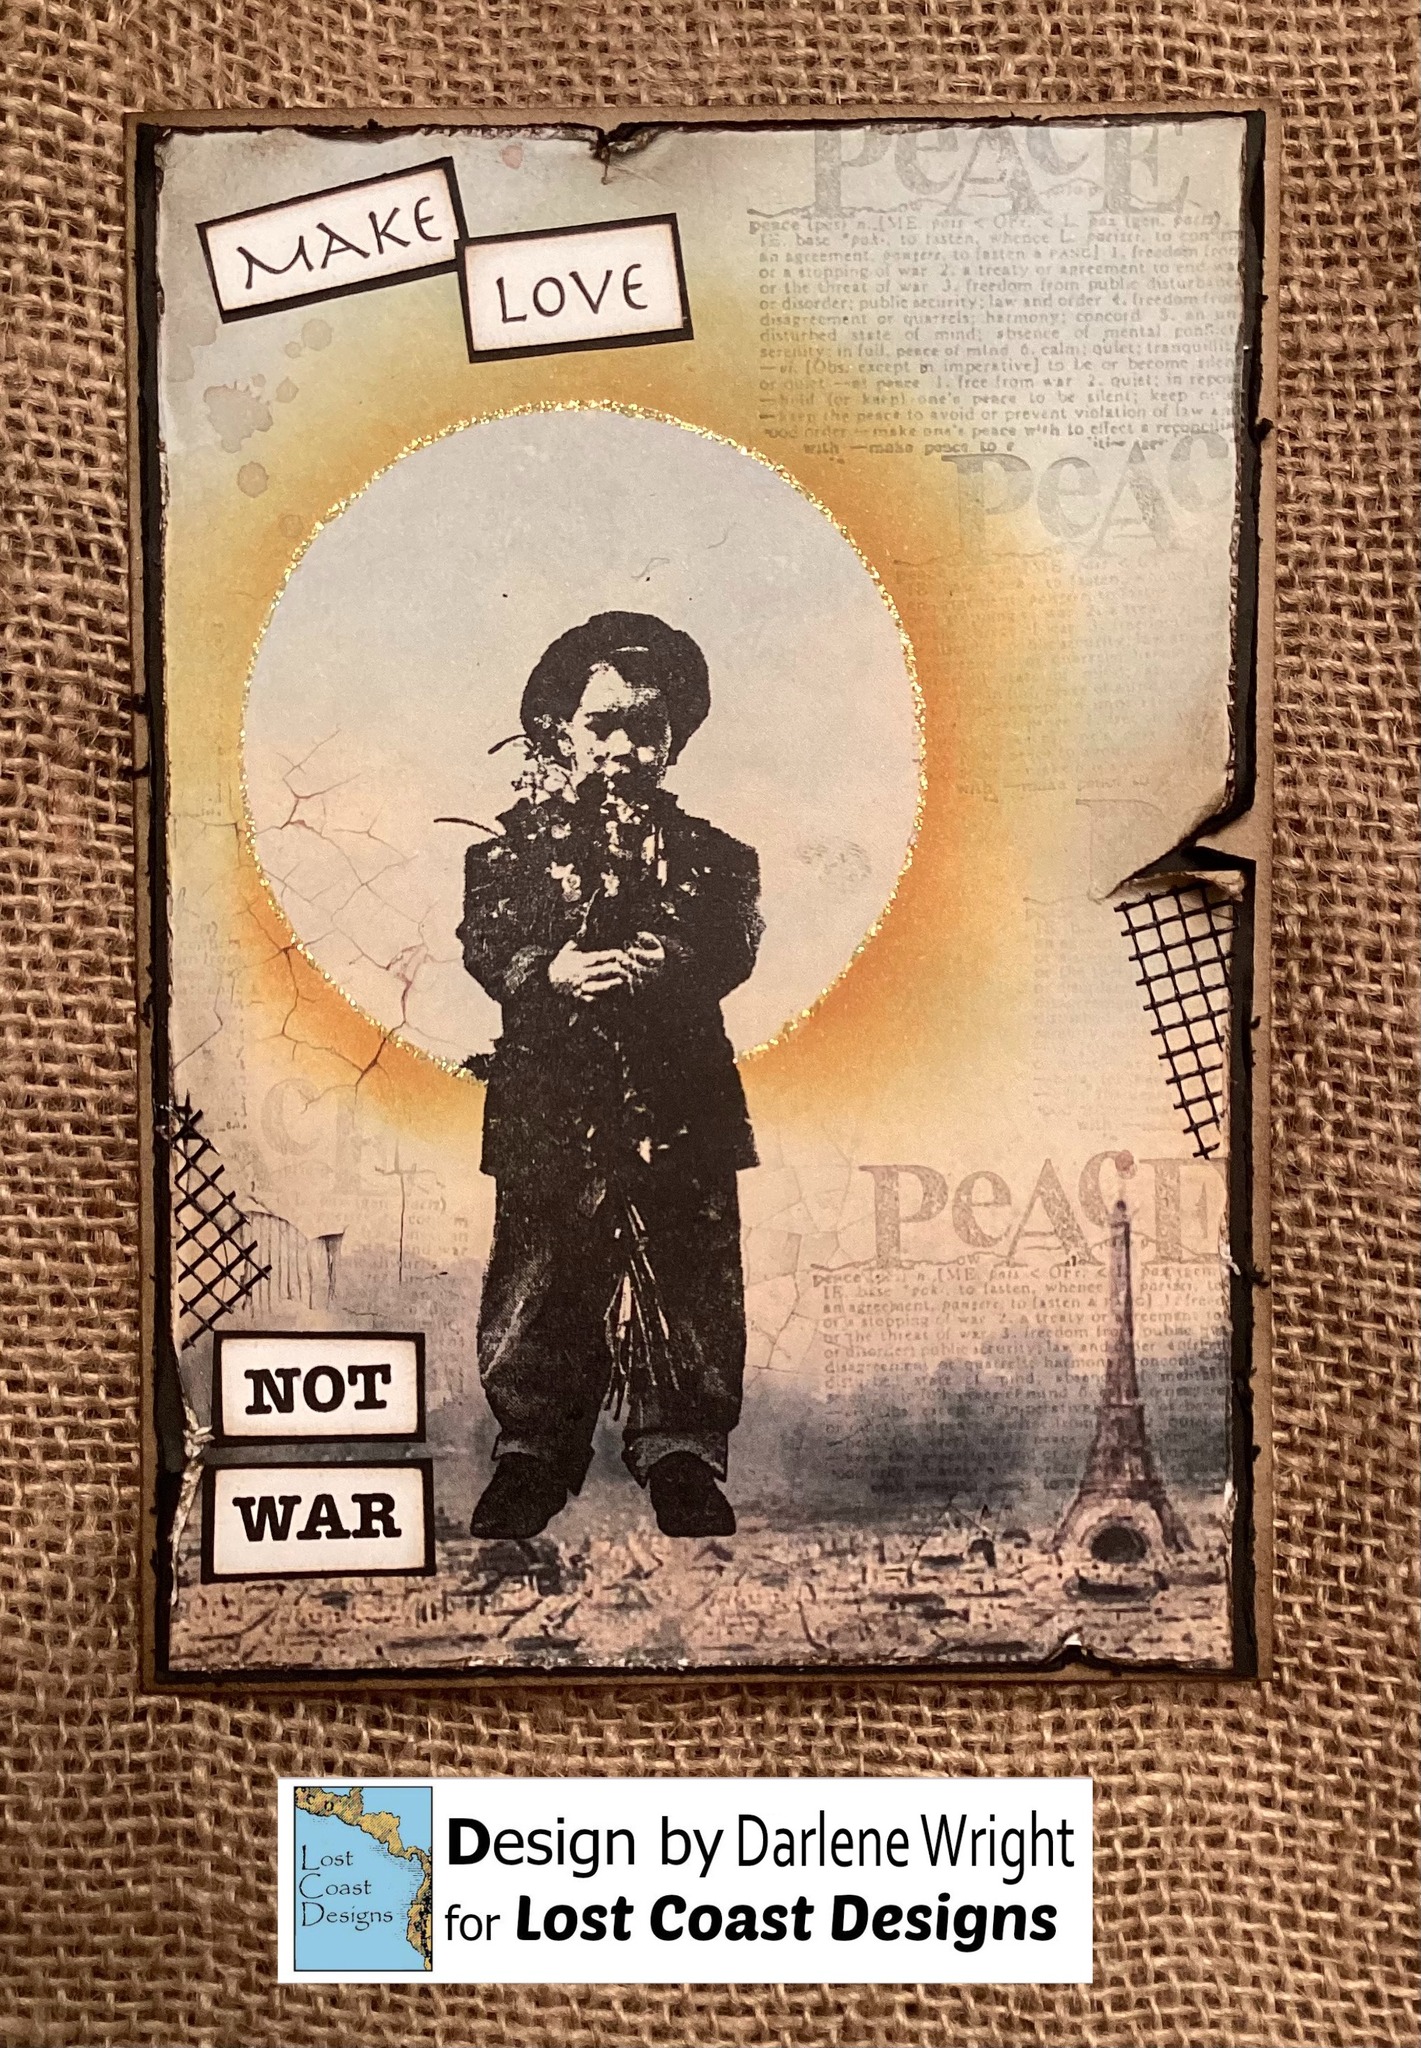
The Rose Boy

Welcome back to Lost Coast Portal to Creativity where Lost Coast Designs and Carmen's Veranda collide to bring you twice the inspiration and double the fun!

Hey welcome to the blog today - Darlene here and sharing my make with one of my 
fav childrens stamp - the Rose Boy.
Can't tell you how often I have used him in different makes.

This month with the 'Are you Kidding me' challenge thought this would be a good choice

So I made this fun fold card just in black and white

This stamp looks like a photograph!!!!


Simple yet effective card.
I masked the Rose boy and did dark splatters
and the saying went well with it, him showing some Kindness
We need more of that in the world right now !!!

So be sure to join in on this challenge and maybe win some 
new stamps !!!   Remember there has to be stamping on it to qualify
just upload here and maybe.....


Thursday, August 15, 2024

CHALLENGE #188 REMINDER - CHILDREN

Welcome back to Lost Coast Portal to Creativity where Lost Coast Designs and Carmen's Veranda collide to bring you twice the inspiration and double the fun!
 
Hello Portal Peeps.  
 
Gail here today with a blast of inspiration from our new teamies for the Children Challenge
Our challenges are now monthly so plenty of time to join the fun.   If you missed the announcement we have three new teamies joining us from this month and they are wowing us with their amazing makes. 

CHALLENGE #188

CHILDREN


We want to see your stamped anythings featuring children or for children.  Real rubber or clear stamping and the theme must be the focus of your project.  A small stamped sentiment in a sea of die cuts or digi images will not qualify to win the prize and you may be deleted!!!!  Bwahahhaaahaha.

Please read the updated Challenge Rules to ensure your entries qualify to win this month's prize!

You are welcome to play in our Challenges using rubber stamp images from any company but if you use any of our Lost Coast Designs or Carmen's Veranda stamps...we love it when you do...then you could win a bigger prize in our random prize drawing.  All winners get our snazzy Challenge Winner's Badge to proudly display on their blogs!

If you don't have a blog then no prob, you can still play in our challenges by sharing your projects from public photo sharing sites which includes our Facebook Company Pages for Lost Coast Designs and Carmen's Veranda.  Please include our Challenge info and the link back to our challenge in your photo's description!  As long as the privacy setting for your photo is public you're good to go.  See, it's so easy to join the fun!  FYI, you can't link up projects shared in closed Facebook groups! 

Here's some gorgeous inspiration from the team.  ENJOY!

  Aimee used Lost Coast Designs Four Alices


Kathi used Lost Coast Designs Silhouette Lady with Umbrella

 
Wowzer!!!  Now it's your turn.  Are you up for the challenge?  We can't wait to see your projects!  
Submit your entries in the linky party below by 23.59 PST on the 31st and don't forget to follow us so you don't miss anything!  The team will be posting more inspiration throughout the month so check back and join the fun.

Happy Stamping!
Gail
Challenge Host

Challenge #188 - Children
August 1st - 31st Please read over out RULES to be sure your entries qualify you to win!
ALL rubber stamp companies are welcome.
Linky closes Saturday, 
August 31st 23.59 PST.
All entries must be entered in our link up or fan fb page, but your don't need a blog to win.  See our RULES page for more info


Tuesday, February 12, 2019

Love, Hearts and a Bouquet of Flowers

Welcome back to Lost Coast Portal to Creativity where Lost Coast Designs and Carmen's Veranda collide to bring you twice the inspiration and double the fun!


Hi, it's Dot here today with a tutorial for you
using hearts and a couple of fantastic stamps.

It's the season for love at the moment and this little chap
Rose Boy
kept catching my eye.

This is the finished card.  I really wanted the boy with the bouquet
to be front and center on this card.
Here are some of the steps for how he got to this stage.


Step 1:  I've covered an A6 sized bit of card with distress inks (broken china and picked raspberry).


Step 2:  It's probably a little difficult to see but I've used a heart stencil on the background.  I've spritzed it with a little water and placed it onto the distress ink background. I like to dab it with some paper towel while it is still sitting on the card so that the 'bleaching of colour' is crisper.  Then dry.


Step 3:  For this bit I've stamped Rose Boy with Distress Oxides (Vintage Photo for a nostalgic feel) using my Misti.  I'm about to go over him with some more colours so a stamping platform of some sort is handy.


Step 4:  The second colour I've used on the boy is Walnut Stains.  But only in some areas, like his had and lower area.  And then again in Ground Espresso.


Step 5:  And to finish of the colours on him I've used Black Soot sparingly.  The face and bouquet of flowers I've left in the original Vintage Photo colours.


Step 6:  Sorry ... I've run out of pics!  But you can get the gist of it from a close-up of the finished piece.  I decided that the background needed some more hearts so I've applied some picked raspberry distress ink directly to the stencil and spritzed it with a little water and 'stamped' it onto random areas around the boy. Again, using paper towel to dab gently to prevent any over-flow of wetness. Also, I've torn the card down each side of the image.

Step 7:  There was plenty of left over background.  This came in handy to die-cut some hearts. I like to edge them with a little colour so that they stand out a little more.


Step 8:  When I was putting all the elements together I decided that there was just a little too much white space for my liking.  So, using the same technique of using a couple of colours of Distress Oxides and a Misti, I added some more heart details with the Hearts and Curls Border.


To finish off it was a simple case of layering everything to my liking. Oh, and I've water coloured some ground for him to stand on with a water colour pencil.

I hope that you've enjoyed the tutorial and decide to give it a go.
Let us know if you do!

Happy Stamping!
Dot x