Showing posts with label vintage. Show all posts

Tuesday, May 26, 2026

#209 No body here challenge. Vintage tag.

Welcome back to Lost Coast Portal to Creativity where Lost Coast Designs and Carmen's Veranda collide to bring you twice the inspiration and double the fun!

Hi, Riet here with a vintage tag for the "No body" challenge.
These are the stamps I used.

And I used:
Distress oxide
 Victorian velvet
Bundled sage
Distressink
Antique linen
Walnut stain
Victorian velvet
Glimmermist pink.
distress glaze
foamtape
Die crealies xxl tag nr.6

First, we make prints using a Pieces of Architecture stamp 
by applying the Distress Glaze to the stamp with a sponge.

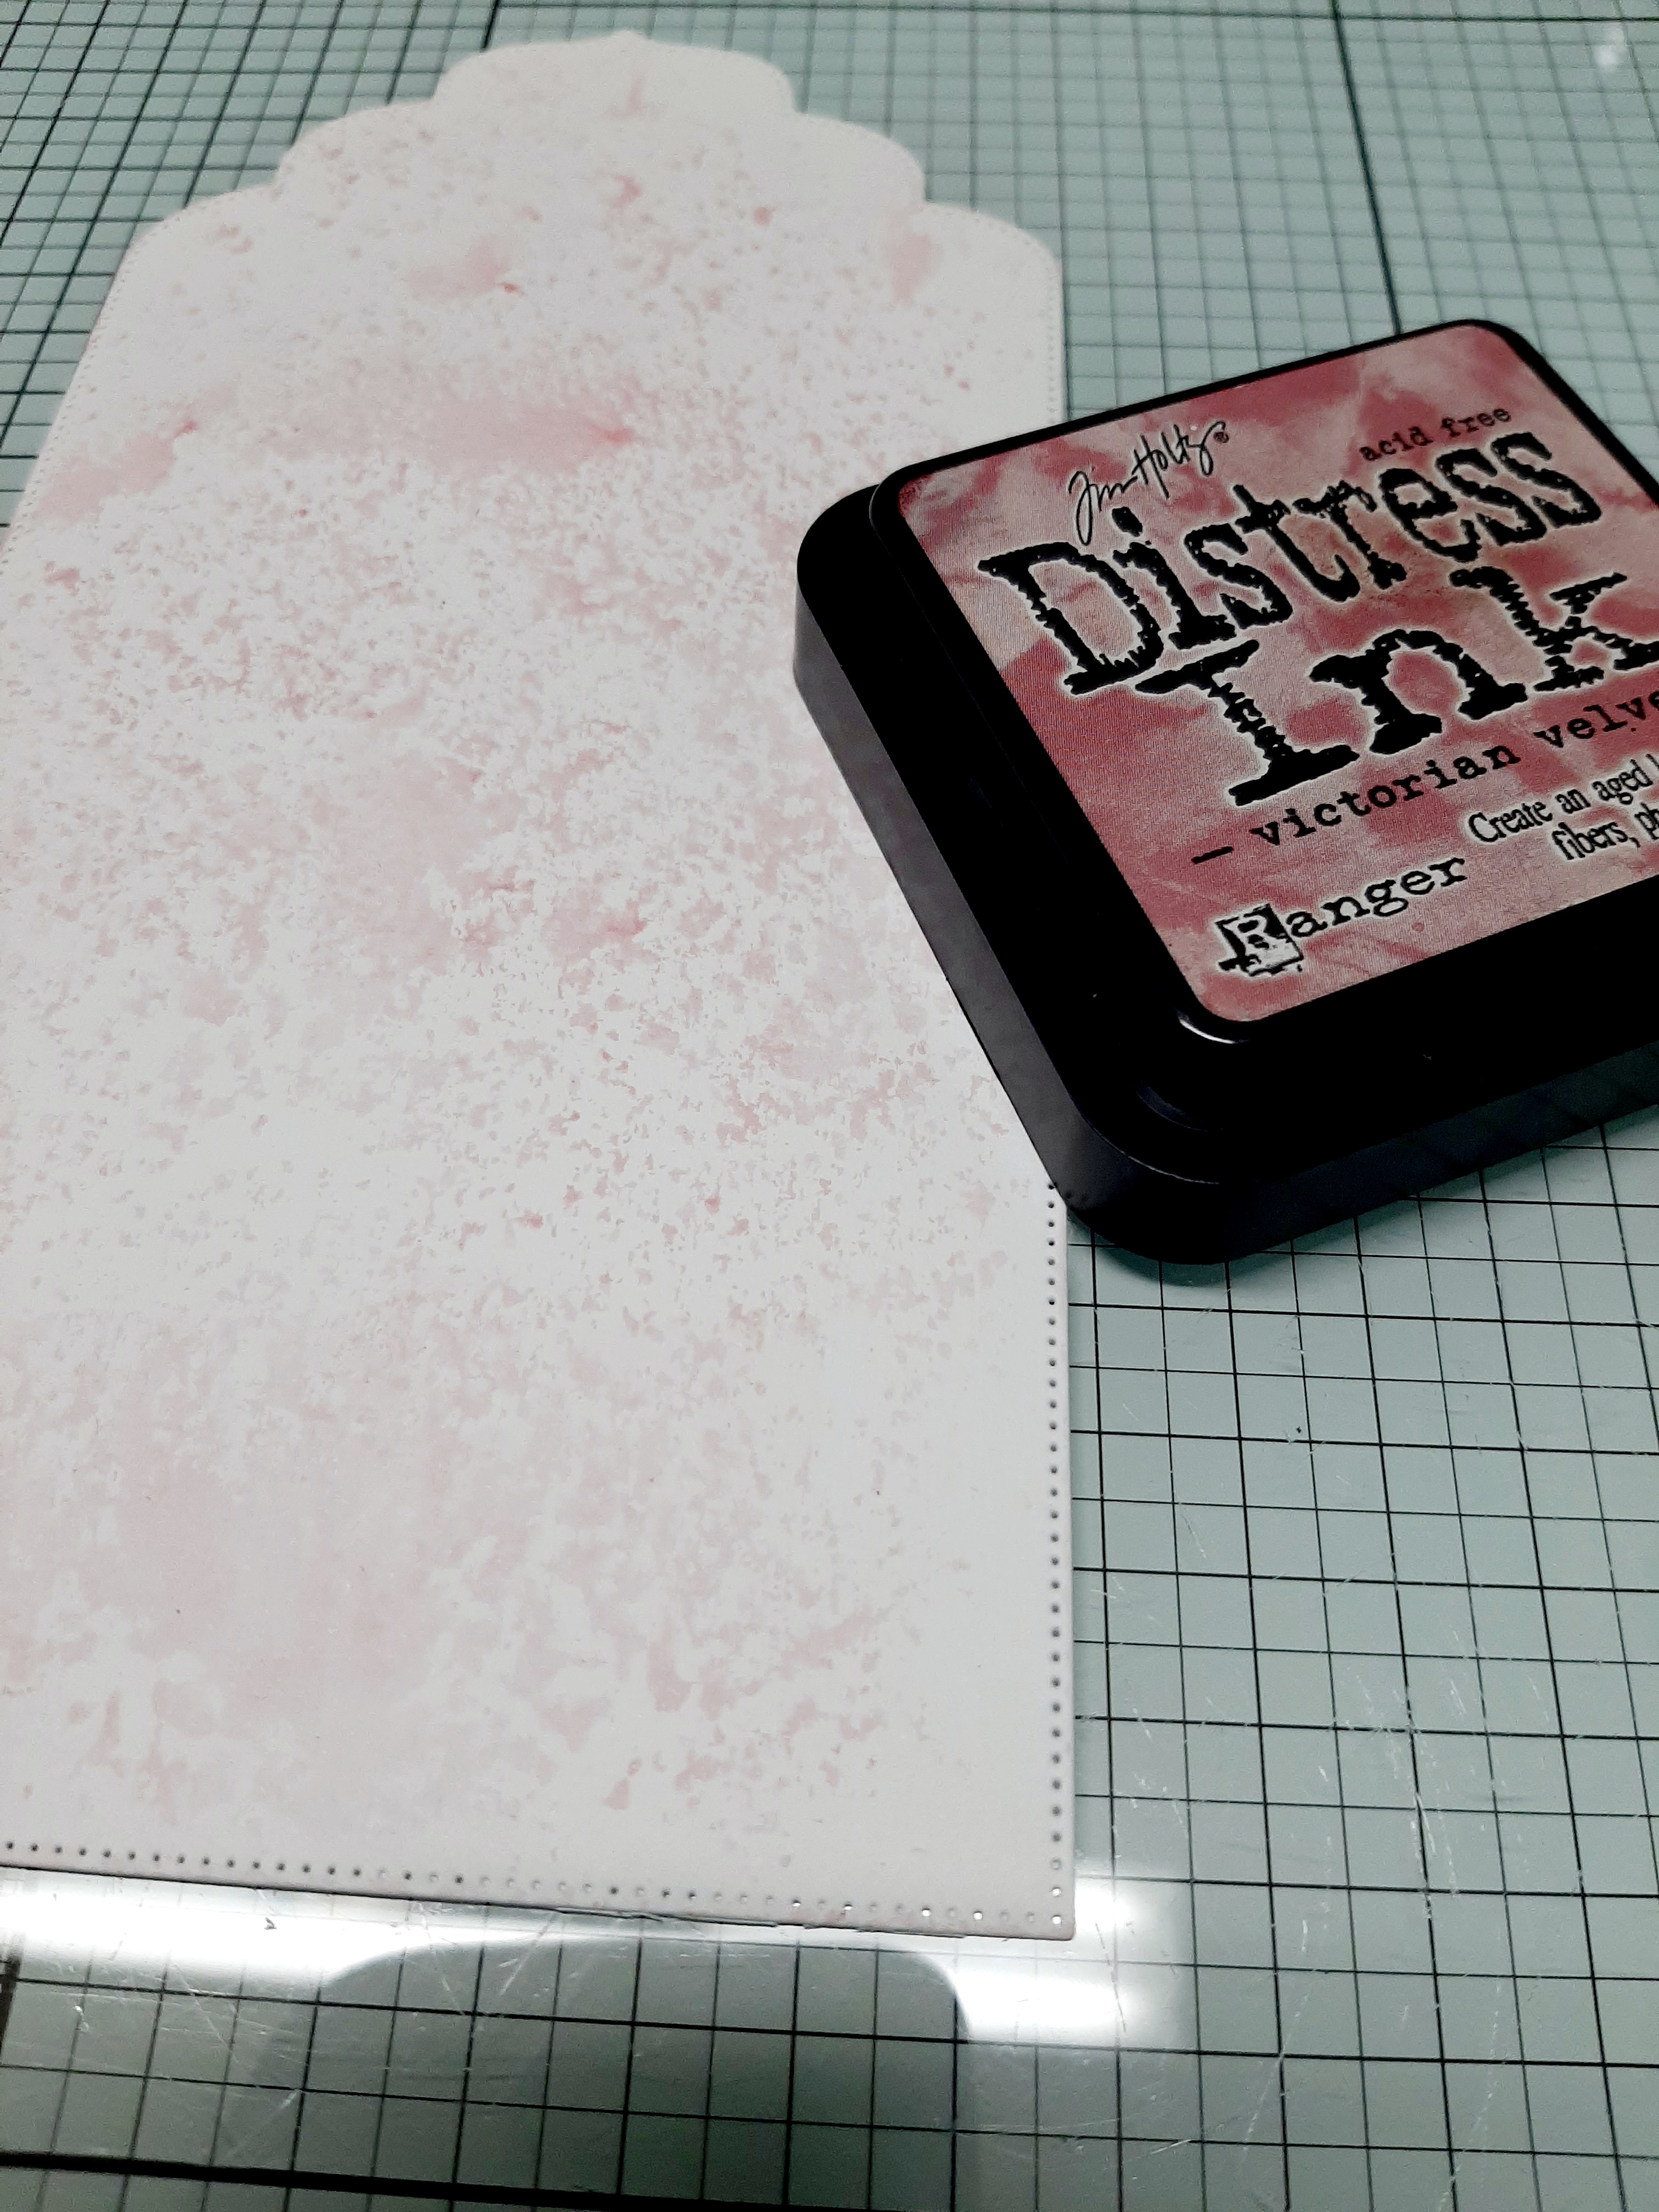
Then we apply the Victorian velvet ink and spray glimmer mist over it.

Apply antique linen to the edges with a finger sponge.

And repeat with walnut stain.

With Distress oxide bundled sage you stamp the script.

With the Distress Oxide Bundled Sage and Victorian Velvet, 
you stamp a number of perfume bottles.
Wait until the ink is completely dry.
Color the bottles with antique linen.
Use a finger sponge to color the edges with walnut stain.

For the background tag that we use as a mat, sponge with the Bundled Sage.
Stamp the long swirl with Victorian Velvet and sponge the edges with Walnut Stain.

Assemble the tag, giving the perfume bottles different heights.
Stamp the word "Beauty" from the misc words sheet 
and stick it on raised with foam tape. 
Thread a nice ribbon through the hole and you're done.
I hope you enjoyed it.
You still have until the end of the month to enter the challen

So maybe I'll see you at the challenge.

Monday, January 8, 2024

#181 Anything goes challenge, Frida Kahlo tag.

Welcome back to Lost Coast Portal to Creativity where Lost Coast Designs and Carmen's Veranda collide to bring you twice the inspiration and double the fun!
 
Dear readers, first of all I would like to wish you all a very Happy New Year.
I wish prosperity and happiness and creativity for each of you.
And of course, most importantly, good health.

The challenge has moved from a bi-weekly to a one-month challenge.
This way everyone has a little more time to make something and participate.
Now my tag for the new challenge from Lost Coast Designs.
Here is the step by step explanation.

Materials I used:

Versa magic,
Purple Hydrangea
Distress Oxide,
chipped sapphire
Distress ink,
chipped sapphire
faded jeans
speckled egg
dusty concord
Die for a window frame
White acrylic paint to splatter.
Distress micro glaze.

I started to color the tag with Speckled egg.

I made a print on the right side of the tag with the daisy floral and micro glaze.

I sponged the right half of the tag with Faded jeans and chipped sapphire.

I made some spots on the left half of the tag with Dusty Concord.

With the versa magic and the ledger stamp,
 I made a print over the left side of the tag.
let it dry.

In the meantime,
I cut out a frame with a piece of paper that I colored with Speckled egg.

I darkened the openings in the die with Dusty Concord.

I stamped the text from Carmens Veranda stamps and a border from the 
brush strokes sheet with Distress oxide chipped sapphire.
Did the same with the roses stamp.

Now for the portrait of Frida Kahlo.
This is a nice example of how you can also use part of a stamp.
I only used her head and it fit perfectly in the frame.

I made some splatters on the tag with the white paint.
The mat of the tag is made of lilac paper.
The edges are sponged with chipped sapphire.
Now just attach the frame with Frida on it and add some pearls for decoration.
Punch a hole and put a piece of ribbon through it.
I hope you enjoyed it and hope to see your work on the challenge blog.
Enter the challenge for a chance to win new rubber stamps.


Thursday, August 24, 2023

Steampunk slimline card.

Welcome back to Lost Coast Portal to Creativity where Lost Coast Designs and Carmen's Veranda collide to bring you twice the inspiration and double the fun!
 Hi stampers and other crafty people.
Do you love steampunk and vintage?
Than join the challenge and have a chance to win some rubber stamps.
Here's my DT example.
I made a slimline card, here is the step by step.
This is what I used:

Derwent Inktense pencils
Stazon Dove grey
A waterpoof black
Distress ink Wild honey,
Vintage photo,
Mowed lawn
Twisted citron.
Mica sheet.
White gell pen.

I started by stamping the Fly with bird stamp with black waterproof ink
on watercolor paper.
Color her in with the inktense pencils.
I chose green, yellow and gray,
 because I didn't want to use the traditional steampunk/vintage colors this time.
When you're done coloring, cut out the steampunk girl.
You can use sissors or a knife, what ever works the best for you.
Now we make the background.
Make with the 4 colors and some water ink puddles.
The main part with the distress ink vintage photo and wild honey.
And with the green colors we do some ink here and there.
I used a piece of mica, so you have more control over where the ink goes.
Leave some space to print the other stamps.
With the gears 2 background stamp and Distress ink Mowed lawn I stamped here and there.
Because I wanted to keep it very subtle I stamped second and third generation.
With the Stazon dove gray I stamped in the left under corner
and the right upper corner with the pieces of calligraphy.
And did the same with the dirigible stamp in the top left corner.

I stamped with black stazon.
The text "Art gives my soul wings to fly",
Now glue on the steampunk lady and mat with gray.
I hope you liked it,
and maybe you will also make something for the challenge.
If you participate you have a chance to win beautiful stamps.
You have until the end of the month.


Thursday, July 6, 2023

#170 Red, White and Blue challenge

Welcome back to Lost Coast Portal to Creativity where Lost Coast Designs and Carmen's Veranda collide to bring you twice the inspiration and double the fun!

 Hi there stamp lovers,
What fun to make something in red, white and blue.
And what a great challenge.
They are of course the colors of the 4th of July holiday in the USA.
I made this tag with that in mind.

What I used for this tag.

Rosettes die.
border die with stars.
Star punches,
Stencil with sun rays.

Distressink,
Chipped sapphire,
Fired brick,
Antique linen,
Vintage photo,
Walnut stain.

Aqua markers blue, orange and red.
Dark blue and red cardstock
A blank tag.
Red, white and blue ribbon.
Foam tape.

How to make this tag.
I started with Megan's Christmas Bird.
Using a stamping platform and the aqua markers, I stamped the bird.
I cut it out and set it aside to dry.

I sponged the tag with the 3 distressink colors.

Then sprayed it wet with water and dryed  it with the heattool.
 
I did the same with a small strip of paper,
 and stamped with the Chipped sapphire `Let´s Celebrate`
from the Party words sheet.

With a sun rays stencil you sponge the distressink Fired brick on the tag.

And with a stamp from the Pieces of Calligraphy set
 and Chipped sapphire you make 3x a print.


Make a puddle of ink and water and run the rosette strip trough it.
One with red and one with blue.
Let it dry.

Blend some walnut stain on the edges.
Fold the rosette and glue a star in the middle of it.

Cut the dark blue cardstock slightly larger than the tag.
But a lot longer on the bottem so that you have the space to make a border with a star die.
The last you cut is the top of the tag in the blue cardstock.
Now we are going to assemble the tag.
I adhered the bird and the banner with foam tape.
With punches I made stars in red, white and blue.
For the rosettes and here and there on the tag.
Don't forget to put a star on the bird's hat.
This is how we make the holly on the hat disappear.
Now mat the tag with the red cardboard.
A red, white and blue ribbon through it and the tag is ready.

I hope you wil join us and show what you made with,
Red, White an Blue.


Wednesday, November 16, 2022

#156, tag you're it! A vintage tag.

Welcome back to Lost Coast Portal to Creativity where Lost Coast Designs and Carmen's Veranda collide to bring you twice the inspiration and double the fun!

Hello, Riet here.
Today I have a vintage tag for the tag challenge.
I myself love this style, I like old stuff and romantic style.
The roses stamp and the label set is perfect for this vintage tag.
I'll explain how I made it.
 
Hello, today I have a vintage tag for the tag challenge.
I myself love this style, I like old stuff and romantic style.
The roses stamp and the label set is perfect for this vintage tag.
I'll explain how I made it.

This is what I used.

Distress ink
Victorian velvet
Aged mahogany
Distress oxide
Bundled sage
Rustic wilderness
Stazon timber brown
Markers or pencils in the same colours.
Crealies xxl tag nr.6
 
With victorian velvet I made some ink stains on the tag.
I applied ink to the stencil with Distress aged mahogany and sprayed it with a little bit of water.
You can print the stencil on the tag.
I did the same with the victorian velvet.
Then I added Aged mahogany here and there with an inkblender brush and the stencil.
Look what a beautiful background you get.

With the ledger stamp and Aged mahogany I placed a print here and there.
This will give your background more depth.
And with Rustic wilderness I stamped the roses on the right corner of the tag.
while the background is drying well, we continue with the Label and rose stamp.
We stamp these stamps with Stazon Timber brown.
I colored them with water based markers.
Cut them out, I cut the roses into pieces.
This way you can arrange the roses more easily around the label.
Stick the label on the tag with foam tape and do the same with the roses.
Hope you liked this tutorial,
 and join oure tag challenge at Lost Coast Designs and Carmen Veranda's stamps.
There is new rubber for the winner.
You can even join with other brands, you can read all about it in the rules.
Have a nice day and till next time.