Hallo dear
reader.
Riet here.
Do you
already have the creeps for Halloween?
Well with
this tutorial you will shiver and tremble with fear, AAAARRRRRGGGGHHH!!!
hahaha!
Lost Coast Designs Stamps I
used.
Distress ink
walnut stain - frayed burlap - antique linen.
Stazon
timber brown, jet black.
Alcohol ink
caramel and mushroom.
Viva decor
inka gold, gold brown and gold.
Dark brown
acrylic paint.
Small
sponge, paint brush.
Aluminium
foil.
Glue and
hot glue gun.
Cardboard.
Stamping
tool.
Water based
markers (zig/tombo), dark brown, shades of beige, dark and light grey.
Watercolor
paper.
Sizzix sizzlits
docorative strip die, Ironwork gate.
Fake cobweb
and some embellishments.
I used the
little rum bottle, a pirate sword, pumpkin, metal charm skull.
Moss, make
sure it is dry.
Step 1.
Cut and
score your cardboard like this photo.
Step 2.
Take the
aluminium foil and wrinkle it.
Don't
flatten it but keep it a little bumpy.
Glue it on the
cardboard with a glue gun.
Step 3.
Paint it
dark brown with acrylic paint.
And make
sure it is dry.
Step 4.
With a sponge you take some of the Viva Decor gold brown,
and wipe lightly over the brown acrylic paint.
do the same with gold, but only on some spots.
It should look like the ground is turned over.
Now let it rest so everything can dry very well.
Step 5.
The metal
charm needs a little sanding and gesso or any primer will do.
Let it dry
thoroughly.
Step 6.
Colour the
charm with the alcohol ink, until it looks rusty.
Step 7.
Stamping
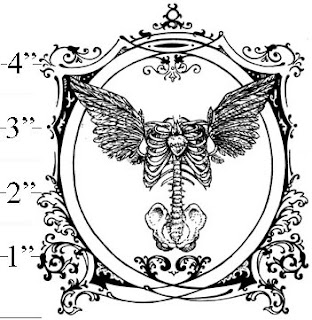
the goth shrine.
Now take
the stamping tool, and the watercolor paper.
We proceed
as follows,
- stamp with distress antique
linen the entire stamp.
- repeat this with the frayed
burlap, but now only some pieces of the stamp.
- And for the last step you take
the dark brown marker and use it direct on the stamp.
But its only for the shadows, so I did it on
the edges and corners of the stamp.
Step 8.
It is time
to color in the accents and details with the markers and the waterpencil.
I was going
for a weathered wood look.
If you want
a stone look then you can do it with grey tones.

Step 9.
Now its
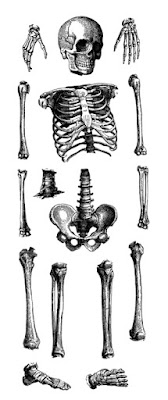
time to stamp the big skeleton parts.
The upper
and lower arm pieces, each 1 time.
Both hands
2 time, so there are 4 hands.
And 2
skulls.
When you cut
out the parts, leave a piece of extra paper.
This is
necessary to glue them together.
Step 10.
Now comes the
tricky part.
Assemble the
skeleton so that it looks like he wants to steel the charm.
Glue all
parts on.
Cut of the
remaining pieces of paper.

Step 11.
Die cut the
fence and color it with the distress ink as shown on the picture.
Step 12.
I coloured
the skull and hands that rise up from the grave a bit darker.
After all,
they have been buried in the ground for a long time.
Now we are
going to put it all together.
Fold the
narrow side back and glue together.
Glue the headstone
to the front.
I made a
little cardboard support on the backside.
Glue the
skull and hands on the grave.
Take pieces
of the fence and glue them on the sides.
Glue on the
moss and your embellishments.
Stamp the
bird on bike with black stazon and cut of the crow.
Glue it on
the tombstone.
With a
black piece of paper you can make an eye patch for the skull.
Well I hope
you enjoyed this tutorial, have fun with stamping.
And don't
forget to join our
challenge, we love to see your cards and projects.
And you can win a very nice prize.