Welcome back to Lost Coast Portal to Creativity where Lost Coast Designs and Carmen's Veranda collide to bring you twice the inspiration and double the fun!
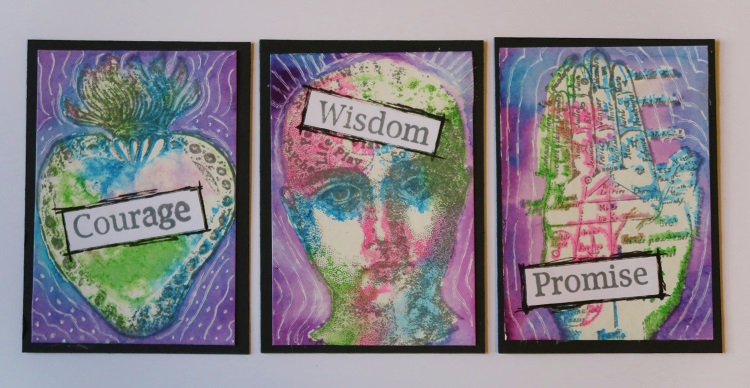
Cathy here with some Artist Trading Coins
I started out using a 21/2 inch die because I do not have a punch that size. I must say I like the die because I can see where I want to cut. I started out making the middle of the ATCoin. I wanted them to me sturdy so I cut some 100lb weight cardstock and glued 2 of them together. You can use cardstock you really don't care for anymore because you will be covering it up with a top and bottom piece.
 This one I have used Alcohol ink and just run my paper through it on a craft sheet. Next I stamped the doodles circles on it. On scrap white paper stamp the duck and color with Copic markers. Cut out. Add bunny ears on top of duck. Then glue duck to ATCoin and add saying. Edge with black ink and glue to middle.
 This one I also started with Alcohol inks. I then stamped Adrien on the ATCoin. I made a mask and then I stamped doodle circle for the background. Add saying and edge in black and glue to the middle.
 This one I started with distress ink for the start of the ATCoin. Stamp the doddle circle for the background. Then stamp Happy Cat on ATCoin. On scrap white cardstock stamp Happy Cat and color with Copic markers. Cut out and add to ATCoin. Edge with black ink and add it to the middle.
For the backs of all the ATCoins I used pattern paper that matched the colors on the front.
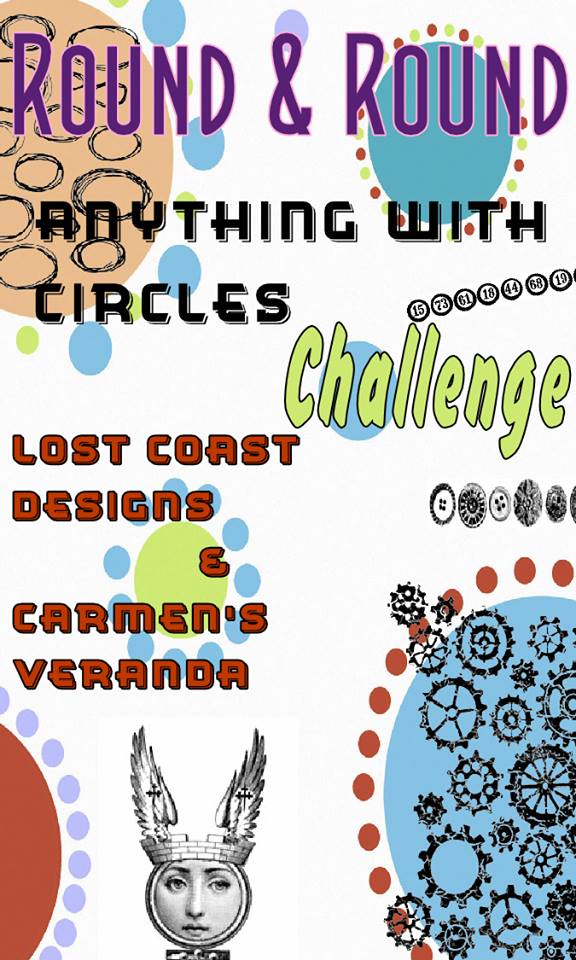
 Come join Challenge #55
Cathy here with some Artist Trading Coins


For the backs of all the ATCoins I used pattern paper that matched the colors on the front.